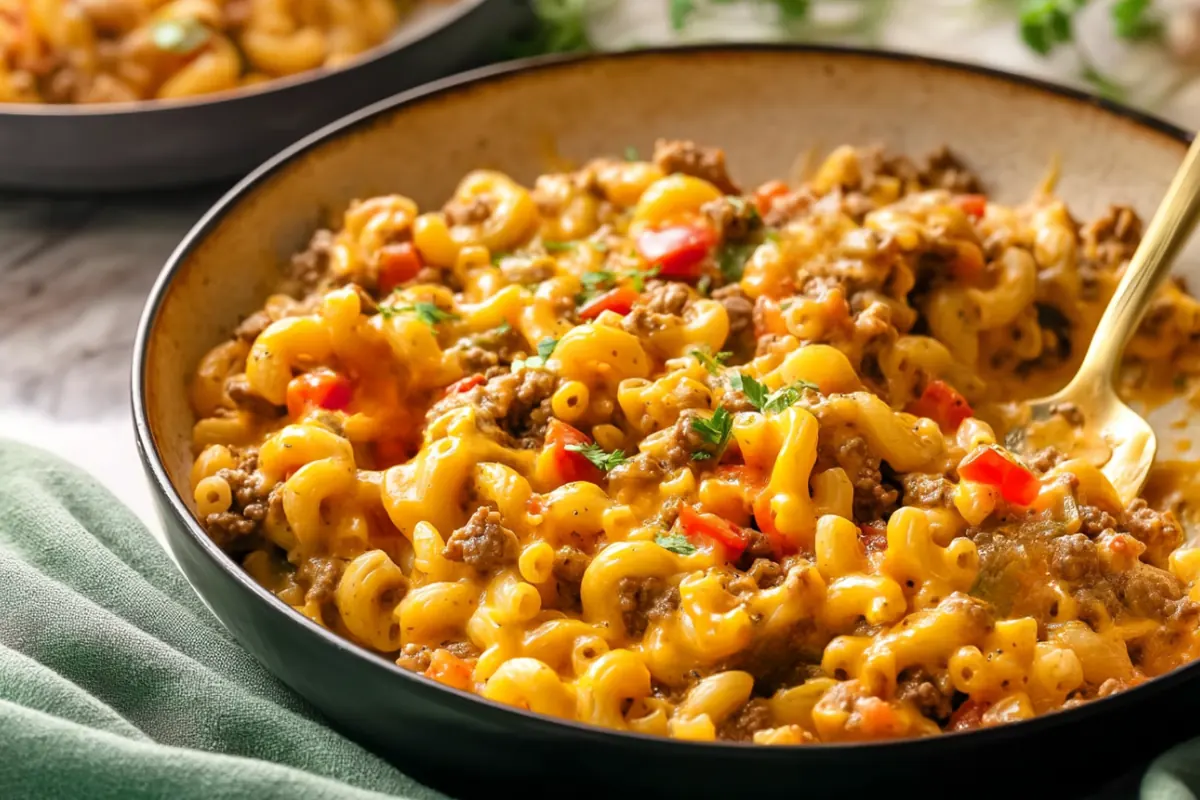
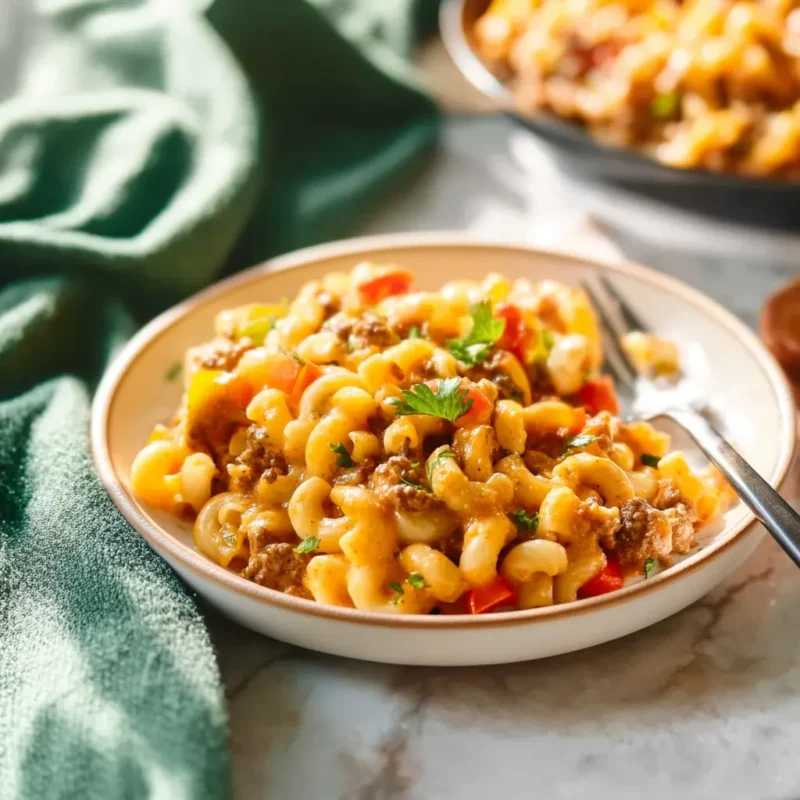
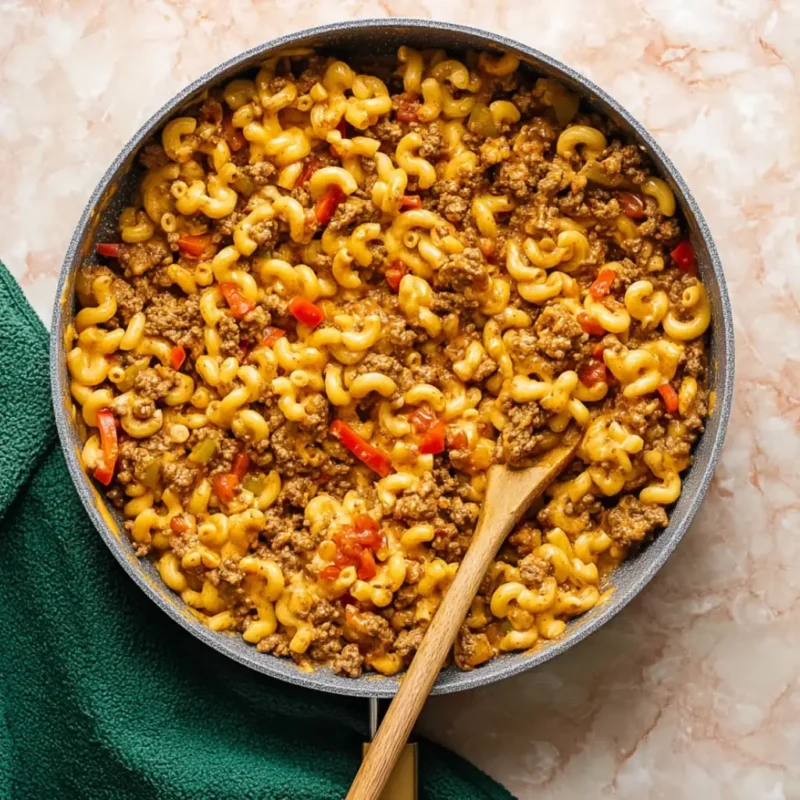
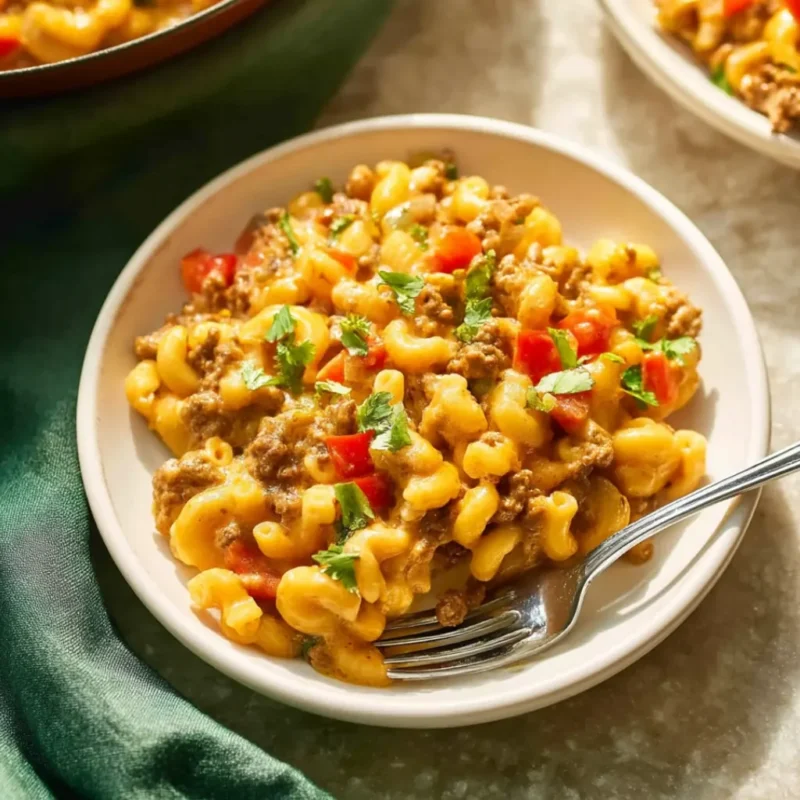
Taco Mac and Cheese
Hello cheese lovers! Today I’m sharing my absolute favorite comfort food mashup that’s rescued countless weeknight dinners at my house.
This taco mac and cheese combines two all-time classics into one protein-packed, cheesy dream that your whole family will devour!
After making this recipe more times than I can count (seriously, my kids ask for it weekly), I’ve perfected every cheesy, taco-seasoned bite.
The best part? It’s ready in minutes with simple ingredients you probably already have.
Why You’ll Love Taco Mac and Cheese
- Loaded with High protein.
- Takes just 30 minutes from start to finish – perfect for busy weeknights.
- Creamy, cheesy sauce with taco flavors that kids and adults both love.
- Made with wholesome ingredients.
- Customizable with your favorite taco toppings for everyone’s preferences.
Ingredients You’ll Need
- Ground Beef: Flavorful 90/10 lean ground beef creates the perfect base. The slight fat content adds just enough richness without going overboard.
- Elbow Macaroni: This pasta shape perfectly catch all that cheesy sauce. I love using chickpea pasta for extra protein, but any short pasta works great.
- Taco Seasoning: homemade spice blend that’s way tastier than packets. It’s my secret weapon – I make double batches to have on hand for quick meals.
- Cottage Cheese: Creamy protein boost that creates the smoothest sauce ever. Trust me on this one – even cottage cheese haters can’t detect it once blended!
- Cheddar Cheese: Sharp and mild varieties give that perfect mac and cheese flavor. The combination creates depth that takes this dish to restaurant-quality.
- Bell Peppers: Colorful veggies that add sweet crunch and nutrition. Red peppers are my favorite, but any color works wonderfully.
- Salsa: Instant flavor shortcut that adds tomatoes and spices in one go. Medium heat works best, but adjust based on your family’s spice tolerance.
Equipment You’ll Need
- Large Skillet: The workhorse for this one-pan wonder. A 12-inch skillet with high sides gives enough room for stirring without spills.
- Pasta Pot: For boiling your noodles to a perfect al dente texture. The size doesn’t matter much as long as water has room to circulate.
- Blender: Transforms cottage cheese into a silky smooth sauce. An immersion blender works too if you have one handy!
- Measuring Spoons: For getting those spice amounts just right. This ensures a consistent flavor every time you make it.
How to Make Taco Mac and Cheese
First, let me give you a quick overview. We’ll cook pasta, brown meat with homemade seasonings, blend a creamy cheese sauce, then combine everything into cheesy taco perfection!
Step 1: Cook the pasta
Bring a large pot of water to a boil and cook your pasta according to package directions. I cook mine 1 minute less than recommended for the perfect texture in the final dish.
Step 2: Brown the beef
While pasta cooks, brown ground beef in a large skillet over medium heat. Break it into small, bite-sized pieces as it cooks. My kids prefer smaller pieces that blend with the mac and cheese.
Step 3: Add taco seasoning
Mix water with all your taco spices in a small bowl until smooth. When beef is fully browned, pour in the seasoning mixture and stir to coat every piece of meat. The smell is amazing!
Step 4: Add vegetables
Toss in chopped bell peppers and let everything simmer for about 5 minutes. This softens the peppers just enough while keeping some nice texture.
Step 5: Make the cheese sauce
Blend cottage cheese until completely smooth – this is key! Then mix in salsa, milk, and flour. This combination creates the creamiest sauce without tons of butter.
Step 6: Combine everything
Add your cottage cheese mixture and both cheddar cheeses to the meat. Stir until completely melted and creamy. Then fold in your drained pasta until every noodle is coated in cheesy goodness!
Tips for the Best Taco Mac and Cheese
- Don’t rinse your pasta after draining. The starchy water helps the sauce cling better to each noodle.
- Blend the cottage cheese thoroughly until absolutely no lumps remain. This makes the creamiest sauce ever!
- Let the dish rest for 5 minutes before serving. The sauce thickens perfectly and flavors deepen.
- Shred your own cheese rather than using pre-shredded. It melts much better without anti-caking agents.
- Taste before serving and adjust salt as needed. Different taco seasonings and cheeses vary in saltiness.
Variations and Substitutions
- Protein swap: Ground turkey or chicken works great for a lighter option. My sister makes it with Beyond Meat and loves it!
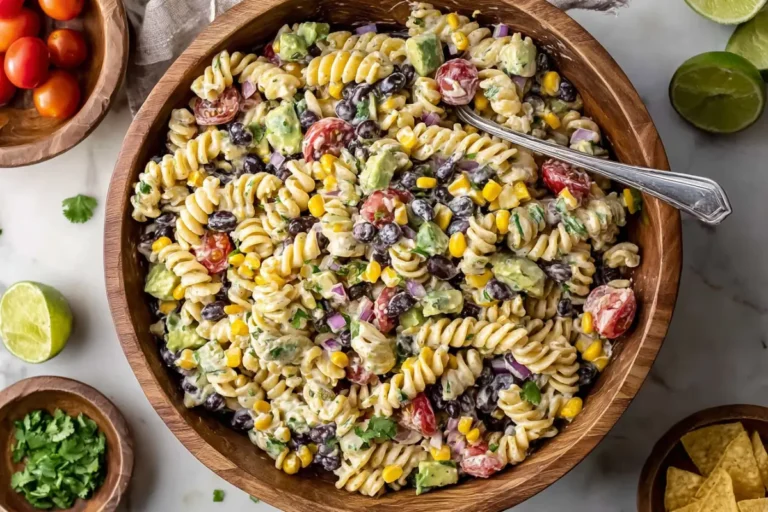
- Extra veggies: Corn, black beans, or diced zucchini blend in beautifully. I often add whatever’s in my produce drawer.
- Spice level: Add diced jalapeños or a dash of cayenne if you like heat. My husband adds hot sauce to his portion.
- Pasta options: Any short pasta works! Regular, whole wheat, or gluten-free all taste great. Protein pasta adds an extra nutrition boost.
- Dairy adjustments: Full-fat cottage cheese makes it extra creamy if calories aren’t a concern. So worth it for special occasions!
Make-Ahead and Storage Tips
- Refrigerator: Leftovers keep well for 3-4 days in an airtight container. The flavors actually get better overnight!
- Reheating: Add a splash of milk before microwaving to restore creaminess. Stir halfway through for even heating.
- Meal prep: Make a double batch and portion into containers for easy lunches all week. It’s saved me so many times!
- Freezer-friendly: Freeze in portions for up to 3 months. Thaw overnight in the refrigerator before reheating.
- Make components ahead: Brown seasoned meat and make cheese sauce up to 2 days ahead, then assemble with fresh pasta when ready.
Serving Ideas
- Taco night: Serve with warmed tortillas and extra toppings for a build-your-own taco mac bar. Kids go crazy for this!
- Fresh side: Pair with a simple green salad dressed with lime vinaigrette for a complete meal. The contrast is perfect.
- Toppings bar: Set out shredded lettuce, diced tomatoes, avocado, and sour cream. Everyone can customize their bowl!
- Bread pairing: Garlic bread or cornbread makes this a super filling meal. Perfect for hungry teenagers!
- Bowl style: Serve over shredded lettuce for a taco salad/mac and cheese fusion. It’s like two meals in one!
Frequently Asked Questions (FAQs)

Taco Mac and Cheese
Ingredients
Method
- Boil the pasta: Cook elbow macaroni according to package directions until al dente. Drain without rinsing to help sauce adhere.
- Brown the meat: In a large skillet over medium heat, cook ground beef until no longer pink, breaking into small pieces as it cooks.
- Mix the seasonings: Combine all taco seasoning ingredients with water in a small bowl until smooth. Pour over browned meat and stir to coat thoroughly.
- Add vegetables: Stir chopped bell peppers into the seasoned meat mixture. Simmer for 5 minutes until peppers slightly soften while maintaining some crunch.
- Prepare cheese sauce: Blend cottage cheese until completely smooth. Mix in salsa, milk, and flour until well combined into a creamy mixture.
- Combine components: Add cheese sauce and both shredded cheeses to meat mixture. Stir continuously until cheeses melt completely and sauce becomes creamy.
- Finish the dish: Fold in cooked pasta until every piece is coated with sauce. Let sit for 5 minutes before serving for flavors to meld perfectly.
Notes
- Protein options: Turkey or chicken can replace beef for a lighter version. Plant-based grounds work beautifully for vegetarian needs.
- Cheese selection: Freshly shredded cheese melts better than pre-packaged. Mix cheese varieties for more complex flavor profiles.
- Storage solution: Keeps well in the fridge for 4 days. Add a splash of milk when reheating to restore original creaminess.
- Freezer friendly: Portion into airtight containers and freeze up to 3 months. Thaw overnight before reheating for best results.
- Customization: Set out toppings like avocado, sour cream, and fresh tomatoes. Allows everyone to create their perfect bowl.