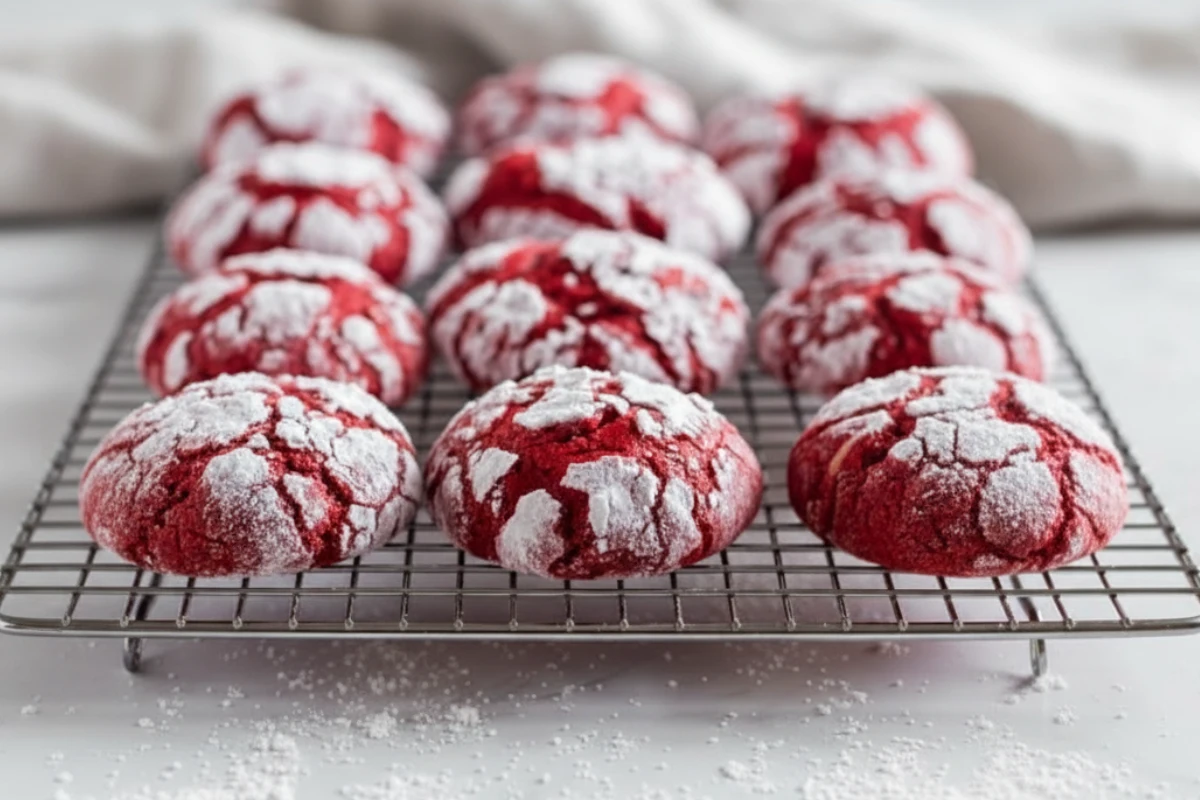
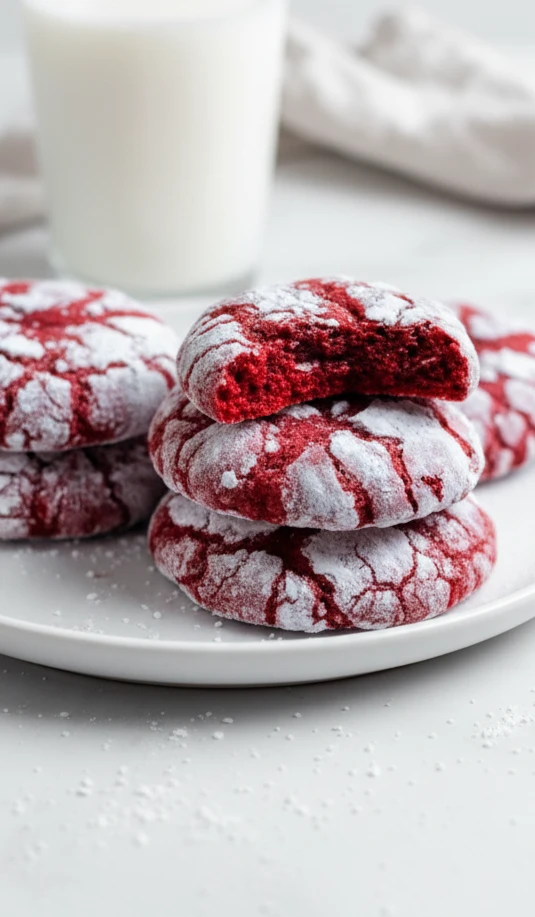
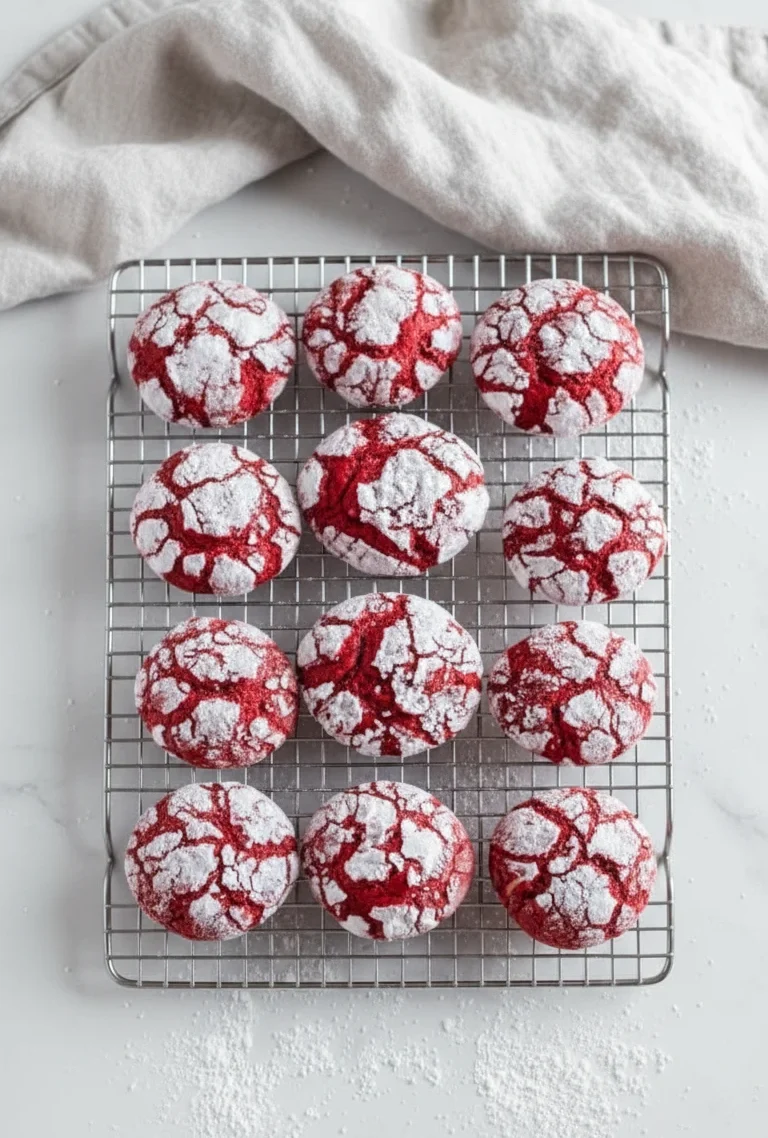
Red Velvet Crinkle Cookies: Festive Holiday Treats
I’m SO excited to share these Red Velvet Crinkle Cookies with you! They’re one of my all-time favorite holiday treats.
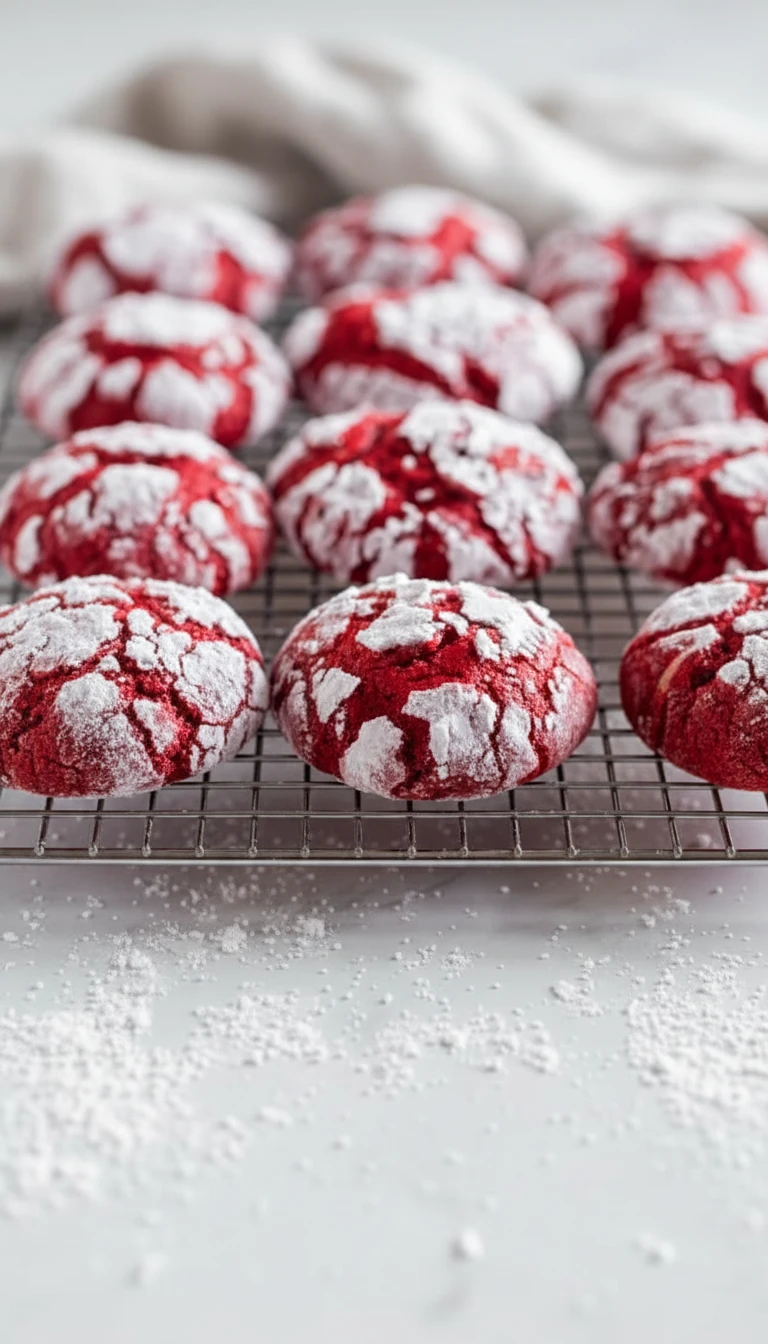
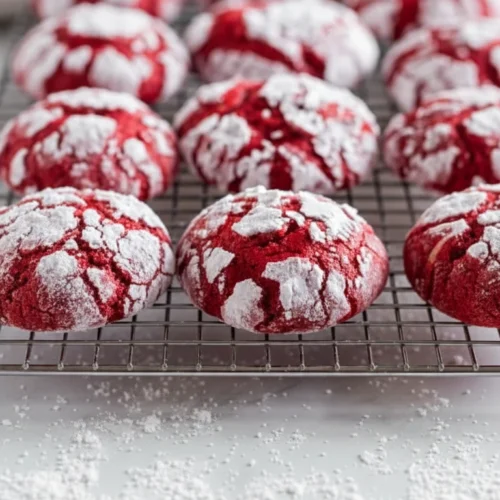
You know what I love most? That gorgeous pop of red peeking through the snowy white sugar cracks. It’s like unwrapping a little present with every bite!
These cookies are also soft, chewy, and have this amazing flavor that’s hard to resist. Perfect for parties, gift-giving, or just treating yourself on a random Tuesday. And you won’t believe this, but they’re actually super easy to make!
Want more red velvet goodness? Check out my Red Velvet Oreo Cheesecake, Fudgy Red Velvet Brownies, and Red Velvet Cupcakes.
Ingredients You’ll Need
Just simple ingredients that come together like magic. Look at the recipe card below for complete ingredient amounts and detailed measurements.
- All-Purpose Flour: This is what holds everything together and gives you those pretty cracks on top.
- Cocoa Powder: Adds that yummy chocolate taste that makes red velvet so special and delicious.
- Red Food Coloring: This is the secret to getting that WOW-worthy bright red color everyone loves.
- Butter: Makes your cookies rich, soft, and gives them that melt-in-your-mouth texture you crave.
- Granulated Sugar: Sweetens things up perfectly and helps create those slightly crispy edges we all love.
- Eggs: These bind everything together and keep your cookies nice and moist inside every time.
- Vanilla Extract: A little splash of this makes everything taste better and adds cozy warmth.
- Powdered Sugar: This coating creates that stunning white snow effect that makes people go “wow!
How to Make Red Velvet Crinkle Cookies
So, here’s how it works. You’ll mix everything up, let it chill out in the fridge, then roll and bake. Easy peasy!
Step 1: Mix Dry Ingredients
Whisk together flour, cocoa powder, baking powder, and salt in a bowl. Make sure everything gets mixed up really well. This helps spread all the flavors evenly through your dough.
Step 2: Cream Butter and Sugar
Beat 6 tablespoons softened butter with 1 cup granulated sugar for about 3 minutes. Your mixer should be on medium-high. It’ll get light and fluffy—that’s exactly what you want!
Step 3: Add Wet Ingredients
Mix in 2 eggs, 1 tablespoon red food coloring, and 1 teaspoon vanilla extract until everything looks smooth. You should see that gorgeous red color all through the mixture now.
Step 4: Combine Ingredients
Gradually add dry ingredients to wet mixture on low speed. Stop as soon as you don’t see any white streaks. You don’t want to overwork the dough, or your cookies might turn out tough.
Step 5: Chill the Dough
Cover the dough and refrigerate for 2 hours until it’s firm. I know waiting is hard, but this step is really important! It stops the cookies from going flat when they bake.
Step 6: Shape and Coat Cookies
Roll dough into 1-inch balls, then coat generously in powdered sugar before putting them on your baking sheets. Don’t be shy with that sugar—pile it on thick for the best crackle effect!
Step 7: Bake Your Cookies
Bake at 350°F for 10-12 minutes until the edges look set. The centers should still be a bit soft. Remember, they’ll keep cooking a little after you take them out.
After baking, let cookies cool on baking sheet for 5 minutes then move them to a cooling rack. Can you smell that amazing aroma? Your kitchen probably smells INCREDIBLE right now!
Tips for the Best Red Velvet Crinkle Cookies
- Don’t skip chilling: Cold dough equals beautiful cracks. Warm dough just spreads out flat and sad.
- Use gel food coloring: Gel gives you way brighter colors without making your dough too wet.
- Coat generously: More powdered sugar means more dramatic white cracks showing off that red underneath!
- Watch baking time: A little underdone is better than overdone. Nobody wants hard cookies, right?
- Store properly: Pop them in an airtight container and they’ll stay soft for days.
Variations and Substitutions
Want to switch things up? Go for it! These cookies are pretty flexible.
- Chocolate chips: Toss in ½ cup white chocolate chips for extra yumminess and fun texture.
- Cream cheese: Mix in 2 ounces of softened cream cheese for that tangy red velvet cake flavor.
- Gluten-free flour: Use a 1:1 gluten-free blend, and they’ll taste just as amazing, promise!
- Natural coloring: Try beet powder instead of food dye for a more natural option.
Frequently Asked Questions
Can I make the dough ahead of time?
Yep! Keep it in the fridge for up to 3 days or freeze it for 3 months. Just bake whenever you’re ready.
Why didn’t my cookies crinkle properly?
Usually this means the dough wasn’t cold enough or you used too much flour. Make sure you chill it well!
Can I use liquid food coloring instead?
You can, but gel works way better. Liquid doesn’t give you that vibrant red and adds extra moisture.
How do I store these cookies?
Just put them in an airtight container on your counter. They’ll stay fresh for about 5 days.
Can I make these cookies smaller or larger?
Absolutely! Just adjust your baking time by a minute or two, depending on the size you want.
What makes them taste like red velvet?
It’s the combo of cocoa, vanilla, and a slight tang that gives you that classic red velvet taste!
Can I skip the powdered sugar coating?
Well, you could, but then you won’t get those pretty cracks. They’d just be plain red cookies.
Why are my cookies spreading too much?
Your dough probably wasn’t cold enough, or your butter was too soft. Chill time is KEY here!
Red Velvet Crinkle Cookies: Festive Holiday Treats
Ingredients
- 1½ cups all-purpose flour
- 2 tablespoons unsweetened cocoa powder
- 1 teaspoon baking powder
- ¼ teaspoon salt
- 6 tablespoons unsalted butter softened
- 1 cup granulated sugar
- 2 large eggs
- 1 tablespoon red gel food coloring
- 1 teaspoon vanilla extract
- ½ cup powdered sugar
Equipment
- Stand mixer or hand mixer
- Mixing bowls
- Cookie scoop
- Baking sheets
- Parchment paper
Instructions
- Whisk flour, cocoa powder, baking powder, and salt together in a medium bowl until combined.
- Beat softened butter and granulated sugar with a mixer on medium-high speed for 3 minutes.
- Add eggs, red food coloring, and vanilla extract to the butter mixture and beat well.
- Gradually mix dry ingredients into wet ingredients on low speed until just combined together.
- Cover the cookie dough tightly with plastic wrap and refrigerate for 2 hours until firm.
- Preheat your oven to 350°F and line baking sheets with parchment paper for baking.
- Roll chilled dough into one-inch balls and coat each generously in powdered sugar completely.
- Place coated dough balls two inches apart on prepared baking sheets for even baking.
- Bake cookies for 10-12 minutes until edges set, but centers remain soft.
- Cool cookies on a baking sheet for 5 minutes before transferring to a wire rack.
- Allow cookies to cool completely before serving or storing in an airtight container.
Notes
- Chilling dough for a full 2 hours ensures cookies maintain shape and develop beautiful cracks.
- Gel food coloring creates a more vibrant red color than liquid without adding extra moisture.
- Roll dough balls in powdered sugar twice for an extra dramatic white crackled appearance effect.
- Store cookies in an airtight container at room temperature for up to five days maximum.