No Bake Chocolate Tart: Perfect Party Treat
Here’s what I think—this No Bake Chocolate Tart is pure magic for fall parties. No oven needed!
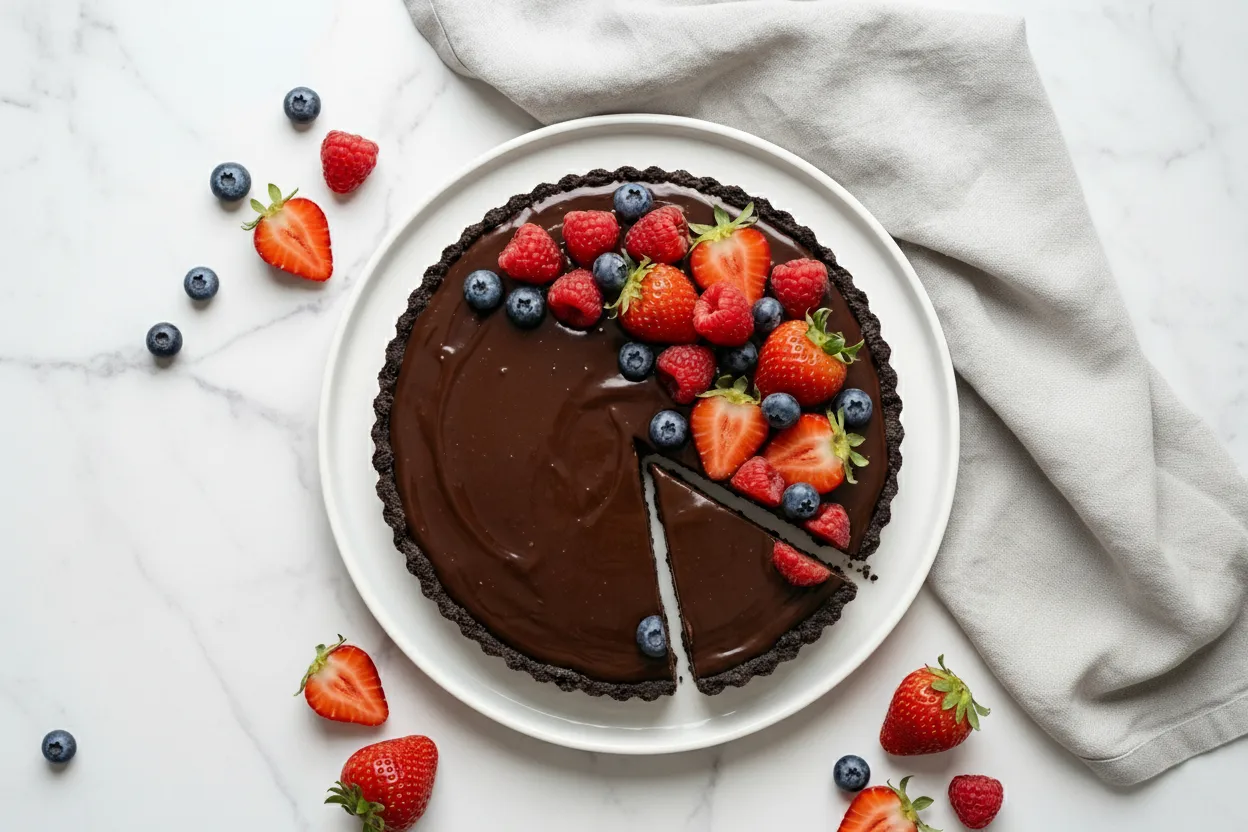
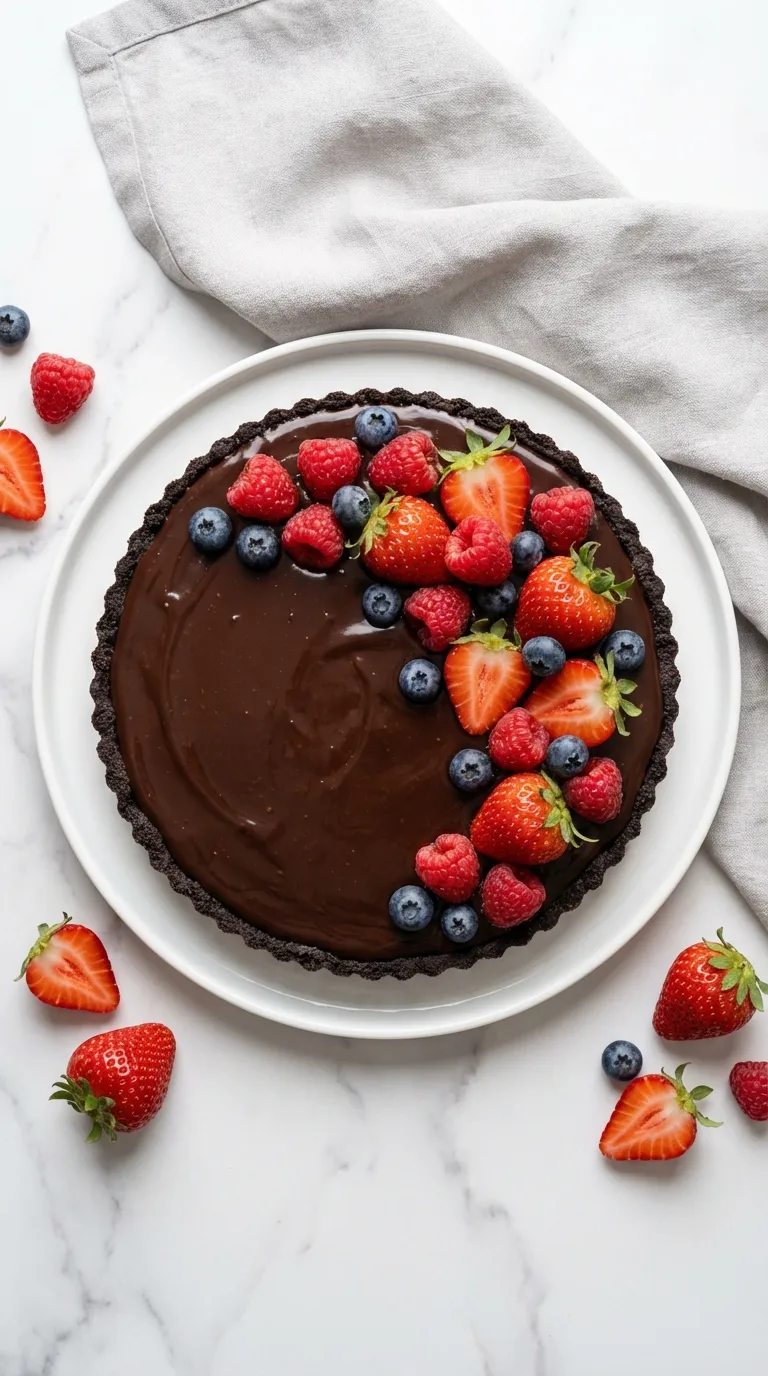
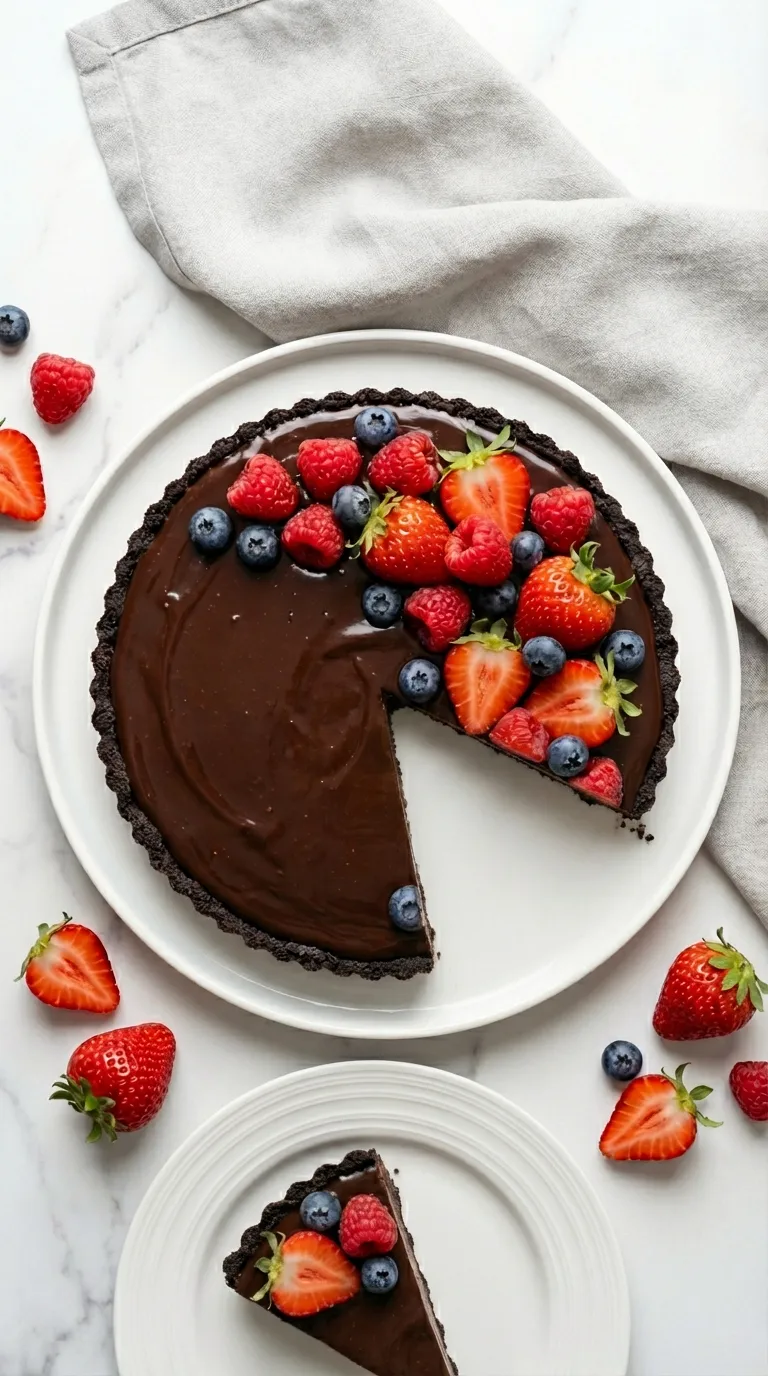
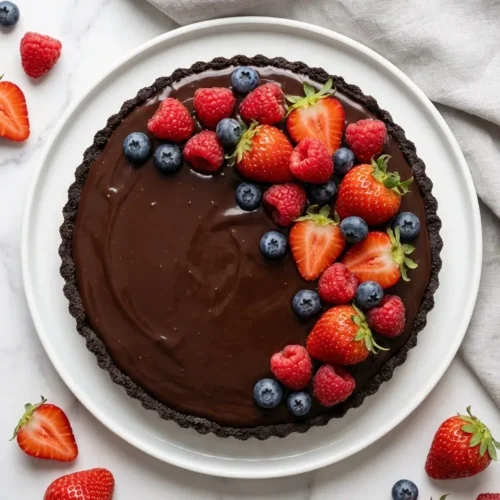
The silky chocolate filling sits on a buttery crust, and honestly, it looks like you bought it from a fancy bakery. I make this all the time during autumn when I want something impressive but easy.
Your guests will be totally amazed, and you’ll be grinning because you know how simple it actually was. Trust me, whether you’re a baking pro or just starting out, this one’s a winner!
Ingredients You’ll Need
Well, it’s just simple stuff you likely have already! Check the recipe card below for exact amounts and everything you need.
- Oreos: Crush these up to make your rich, crunchy base that holds everything together perfectly.
- Unsalted butter: Melt this to stick the cookie crumbs together into a moldable, delicious crust.
- Granulated sugar: This sweetens things up and gives your crust the perfect texture you’re looking for.
- Heavy cream: This creates that silky, dreamy ganache that makes every bite feel like a hug.
- Dark chocolate: Good quality chocolate is key here—it gives you that deep, rich flavor we all crave.
- Vanilla extract: A little splash of this makes the chocolate taste even better and adds warmth.
- Whipped cream: Light and fluffy, this balances out all that rich chocolate in the best way.
- Fresh berries: Raspberries or strawberries add gorgeous color, freshness, and a nice tart pop of flavor.
How to Make Chocolate Tart
Guess what? You can turn simple ingredients into this stunning dessert with zero baking skills needed. Can you imagine that?
Step 1: Prepare the Cookie Crust
Pulse the Oreo cookies in your food processor until they’re like sand—no chunks allowed! Mix 2 cups cookie crumbs with 6 tablespoons melted butter and 2 tablespoons sugar. You want it to look like wet sand that sticks together when you squeeze it.
Step 2: Form the Tart Base
Press the cookie mixture into your 9-inch tart pan really firmly. Spread it across the bottom and push it up the sides too. Use the back of a measuring cup to pack it down tight. Pop it in the fridge for 15 minutes while you make the filling.
Step 3: Heat the Cream
Pour 1½ cups heavy cream into your saucepan and warm it over medium heat. You want tiny bubbles around the edges—that’s your cue! Take it off the heat right away. Don’t let it actually boil, or it might bubble over everywhere.
Step 4: Create the Ganache
Add 12 ounces chopped dark chocolate and 1 teaspoon vanilla extract to that hot cream. Just let it sit there for 2 minutes—don’t touch it! Then stir gently until everything melts together into this glossy, smooth chocolate dream. YUM!
Step 5: Assemble and Chill
Pour the warm ganache carefully into your chilled crust and spread it out evenly with your spatula. Give the pan a little tap on the counter to pop any air bubbles. Now stick it in the fridge for at least 4 hours until it’s firm and ready to slice.
Step 6: Add Finishing Touches
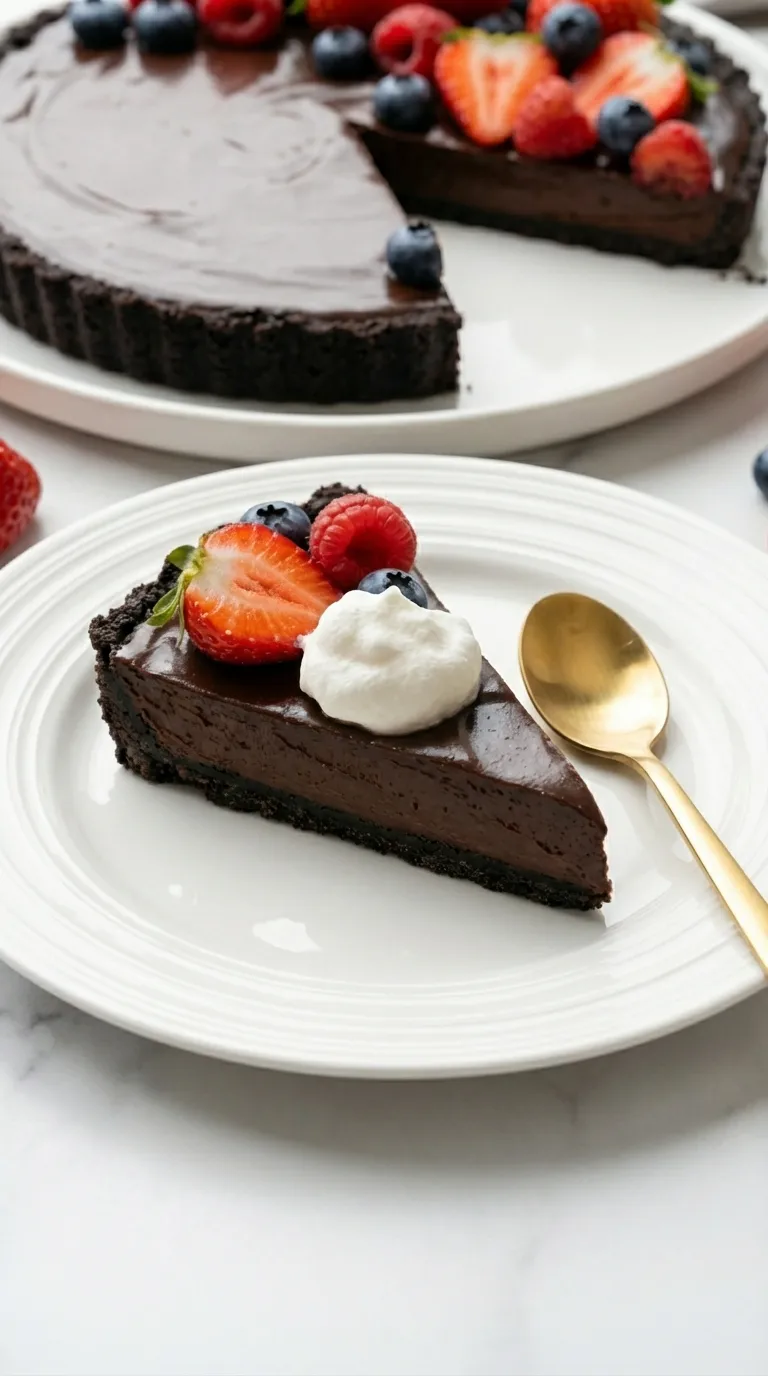
Remove the tart about 10 minutes before you’re ready to serve. This makes slicing easier, and the flavor pops more. Add some whipped cream dollops and arrange those pretty berries on top. Use a warm knife for clean slices that look bakery-perfect!
Tips for the Best Chocolate Tart
- Use quality chocolate: Spring for the good stuff with at least 60% cacao. Cheap chocolate just won’t give you that amazing flavor and smooth texture.
- Chill thoroughly: I know waiting is hard, but don’t rush this part! A properly chilled tart slices clean and holds its shape beautifully.
- Warm your knife: Dip your knife in hot water between cuts. This trick gives you those perfect, clean slices without any mess.
- Don’t skip the sugar: That bit of sugar in the crust balances everything and makes the chocolate taste even more AMAZING!
- Serve slightly chilled: Take it out of the fridge 10 minutes early so the chocolate reaches that perfect creamy consistency.
Variations and Substitutions
Here’s the fun part—you can totally mix this up based on what you like or what you have on hand!
- Graham cracker crust: Swap the chocolate cookies for graham crackers if you want something lighter and less chocolatey overall.
- Milk chocolate filling: Use milk chocolate instead if you prefer sweeter, gentler flavor that kids absolutely love.
- Peanut butter swirl: Stir ¼ cup creamy peanut butter into your ganache and swirl it around for that irresistible combo.
- Coffee enhancement: Mix 1 tablespoon instant espresso powder into the cream for a fancy mocha vibe that tastes incredible.
- Coconut cream alternative: Use full-fat coconut cream instead of heavy cream for a dairy-free version that’s just as rich.
Frequently Asked Questions
Can I make this tart ahead of time?
Yes! Actually, it tastes even better when made ahead because the flavors really come together. Make it up to 2 days early and keep it covered in the fridge.
How should I store leftover chocolate tart?
Cover it tightly with plastic wrap or put it in an airtight container. It’ll stay fresh in the fridge for up to 5 days.
Can I freeze no bake chocolate tart?
Absolutely! Freeze it without the toppings for up to 2 months. Let it thaw overnight in the fridge before adding cream and berries.
What type of chocolate works best?
Go for high-quality dark, milk, or semi-sweet chocolate with 60-70% cacao. Skip chocolate chips—they have stuff in them that prevents smooth melting.
Why is my ganache grainy or separated?
This happens when your cream gets too hot or you stir too hard. Use gentle motions and don’t overheat the cream.
Can I use a different pan size?
Sure! Just adjust how much you make. Deeper pans need more filling, while wider ones might need more crust ingredients.
How do I remove the tart from the pan?
Set the pan on a can, then gently push the outer ring down. The tart stays on the flat bottom piece—easy!
What can I use instead of heavy cream?
Half-and-half works but makes a softer filling. Don’t use regular milk though—it’s too thin and won’t set properly.
No Bake Chocolate Tart: Perfect Party Treat
Ingredients
For the Crust:
- 24 Oreo cookies
- 6 tablespoons unsalted butter melted
- 2 tablespoons granulated sugar
For the Filling:
- 1½ cups heavy cream
- 12 ounces dark chocolate chopped
- 1 teaspoon vanilla extract
For the Topping:
- 1 cup whipped cream
- 1 cup fresh berries raspberries or strawberries
Equipment
- 9-inch tart pan with removable bottom
- Food processor
- Medium saucepan
- Mixing bowls
- Silicone spatula
Instructions
Prepare the Crust:
- Pulse Oreo cookies in a food processor until they turn into fine crumbs with no big pieces left.
- Mix cookie crumbs with melted butter and sugar until they look like wet sand and stick together.
- Press cookie mixture firmly into tart pan bottom and sides, packing it down with a measuring cup.
- Pop the crust in the fridge for 15 minutes while you whip up the chocolate filling.
Make the Filling:
- Heat heavy cream in a saucepan over medium heat until small bubbles appear around the edges, then remove.
- Add chopped dark chocolate and vanilla extract to the hot cream and let it sit for two minutes.
- Stir the ganache gently with a spatula until the chocolate melts completely and becomes smooth, glossy, and totally combined.
- Pour warm ganache into chilled crust, spread evenly, and tap pan to get rid of air bubbles.
- Refrigerate the tart for at least 4 hours or overnight until it’s firm enough to slice perfectly.
Add the Topping:
- Take the tart out 10 minutes before serving, then top with your favorite toppings, such as whipped cream and berries. ENJOY!!!
Notes
- Don’t rush the chilling time—your tart needs those full hours to set up properly for clean slicing.
- Hot water on your knife between slices gives you those beautiful, professional cuts without cracks or mess.
- Keep the covered tart in the fridge up to five days, but add the whipped cream right before serving.
- You can freeze this without toppings for 2 months—just thaw overnight in the fridge before decorating.