Fudgy Red Velvet Brownies
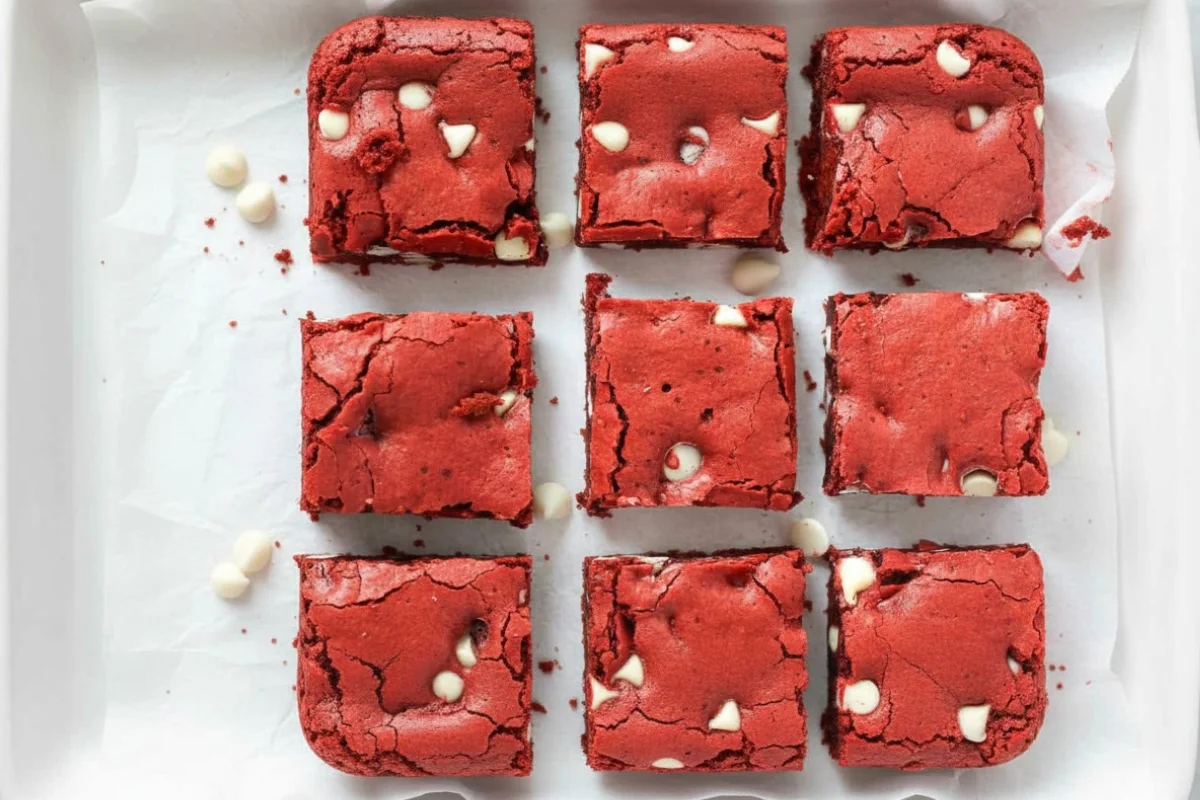
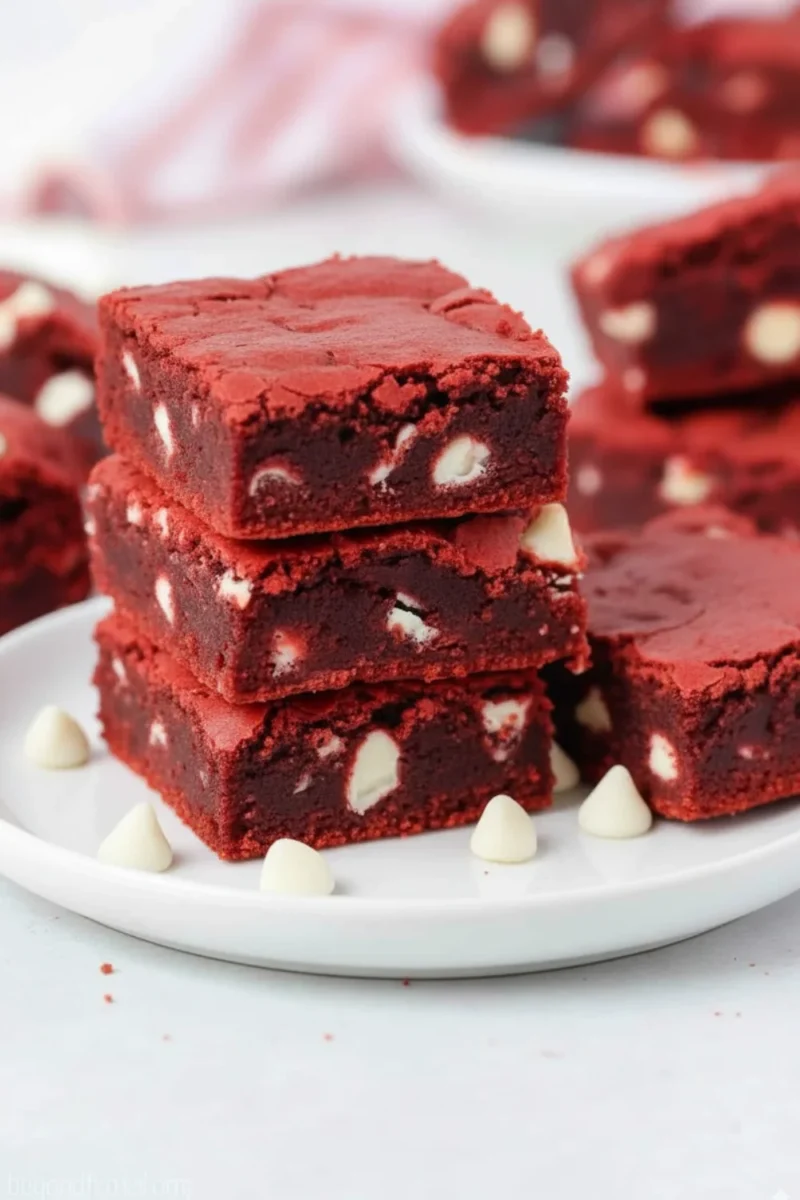
Oh my goodness, you have to try these Red Velvet Brownies! They are the best of both worlds. Imagine a super fudgy brownie smashed together with a yummy red velvet cake.
I loaded them up with sweet white chocolate chips, and the best part? You only need one bowl! They look so pretty and taste even better.
I promise, your friends will be begging you for the recipe. These are so chewy and moist….You won’t be able to eat just one!
Why You’ll Love Red Velvet Brownies
I’m so excited for you to make these! They mix two of my favorite desserts into one fudgy square that is just pure heaven.
- Tastes Just Like Red Velvet: You get that tangy, yummy flavor in every single bite.
- Super Fudgy, Not Cakey: These are extra dense and moist, just how a brownie should be.
- So Pretty: That deep red color is a total knockout!
- One-Bowl Wonder: You’ll love how easy these are to clean up.
- Perfectly Sweet: The white chocolate chips are the cherry on top.
- ‘WOW’ Your Friends: Bring these to any party and watch them fly off the plate.
If you’re a brownie lover like me, you should also check out my amazing Vegan Sweet Potato Brownies and Healthy Pumpkin Brownies!
Ingredients You’ll Need
Let’s grab what we need to make these goodies! You can find the exact amounts you need down in the recipe card at the bottom.
- Granulated Sugar: This makes the brownies sweet and gives them that nice, crackly top I love.
- Vegetable Oil: I use this to make my brownies extra moist so they stay soft for days.
- Buttermilk: This gives you that classic red velvet tang and makes the brownies super tender.
- Pure Vanilla Extract: Good vanilla makes everything taste better, trust me on this one.
- Distilled White Vinegar: This little secret helps make the brownies light and just right.
- Large Egg: Your egg helps hold everything together, so you get a perfect, chewy brownie.
- Red Food Color: To get that super bright red, I always use a gel color. My favorite is ‘Chefmaster Red Red‘ because it won’t make your batter watery.
- All-Purpose Flour: This gives your brownies their shape, so make sure you measure it right!
- Natural Unsweetened Cocoa Powder: Just a little bit of cocoa gives you that real red velvet flavor.
- Baking Soda & Baking Powder: These guys help your brownies puff up just the right amount.
- White Chocolate Chips: These add little pockets of creamy sweetness. YUM!
How to Make Red Velvet Brownies
This recipe is as easy as pie! Just follow these simple steps, and you’ll have perfect brownies in no time at all.
Step 1: Mix the Wet Ingredients
First, grab a big bowl and mix your 1 cup sugar, 1/2 cup oil, and 1/4 cup buttermilk. Then, add in 1 large egg, 1 teaspoon vanilla, 1 teaspoon vinegar, and 1-2 teaspoons red color.
Step 2: Add the Dry Ingredients
Now, pour 1 cup flour, 2 tablespoons cocoa powder, 1/2 teaspoon baking soda, 1/2 teaspoon baking powder, and 1/4 teaspoon salt right into the same bowl. Mix it all up, but don’t stir too much!
Step 3: Fold in the Chocolate
Gently stir in 3/4 cup white chocolate chips with your spatula. We want to be gentle here so our brownies stay nice and fudgy and not tough.
Step 4: Time to Bake
Pour your pretty red batter into your 8×8” pan. Sprinkle the remaining 1/4 cup chocolate chips on top. Bake it at 350°F for about 25-30 minutes. You’ll know it’s done when a toothpick comes out with yummy, moist crumbs.
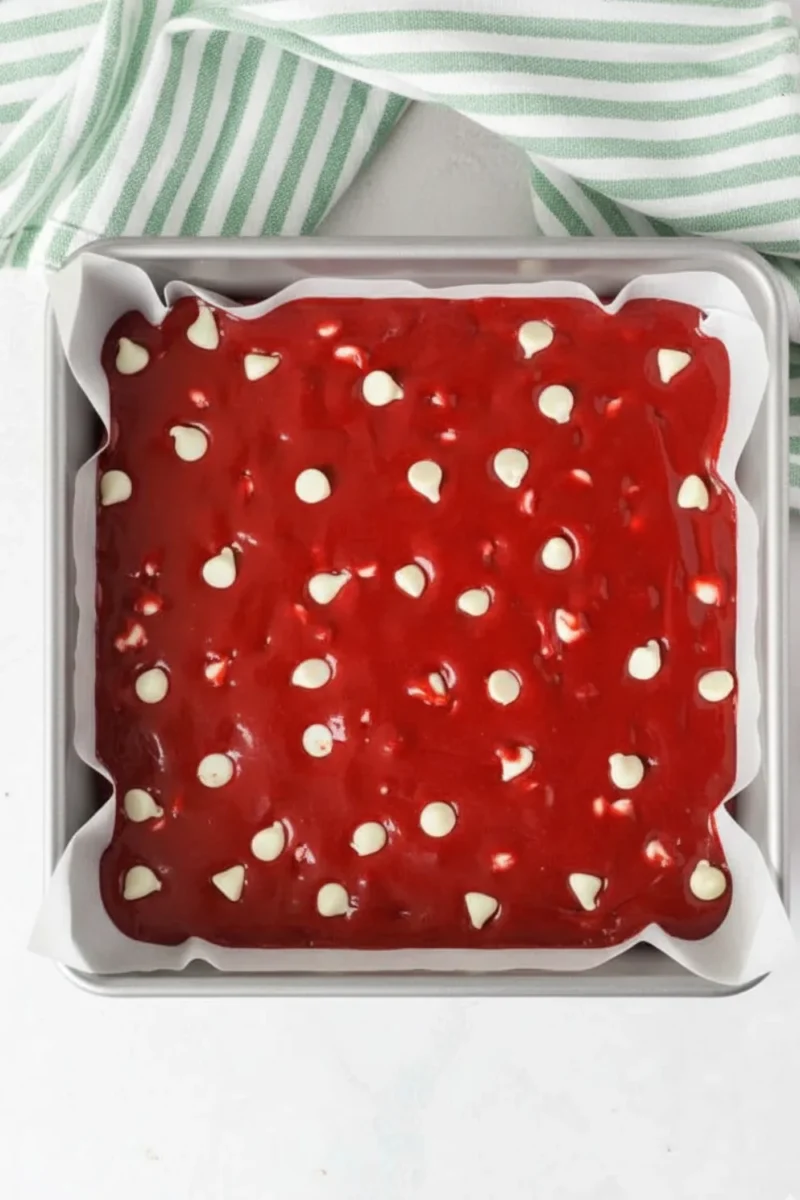
Step 5: Cool and Enjoy!
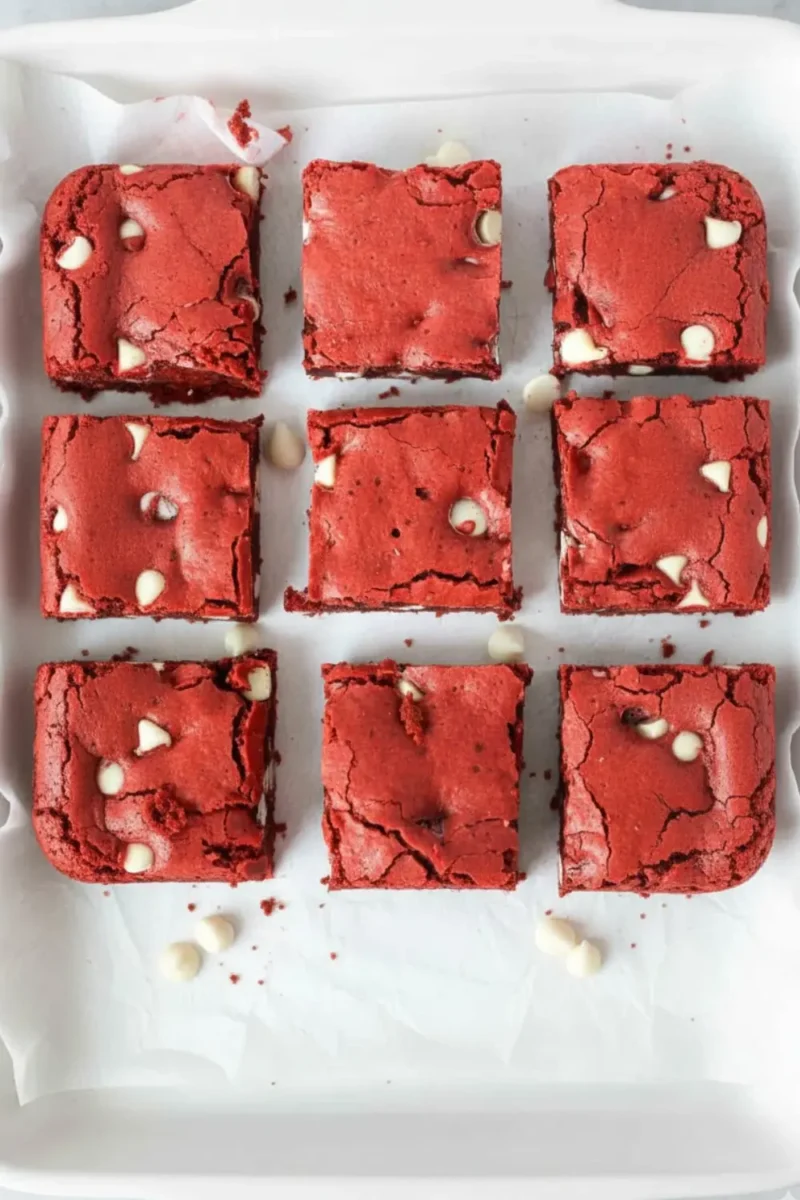
Okay, this is the hardest part, waiting! Let the brownies cool completely in the pan before you slice them into yummy squares. It’s worth it
Tips for the Best Red Velvet Brownies
Want to make sure your brownies are picture-perfect? Here are a few of my little secrets for getting them right every single time.
- Don’t Mix Too Much: Stop stirring as soon as you can’t see the flour. This is the key to fudgy brownies!
- Use Gel Color: A good gel color gives you that WOW red without messing up the batter.
- Don’t Overbake Them: Pull them out when they’re still a little gooey. That’s the secret to a fudgy middle.
- Let Them Cool: I know it’s hard, but wait for them to cool before you cut them. You’ll get nice, clean squares.
- Use Room Temp Stuff: Let your egg and buttermilk sit on the counter for a bit. They mix in way better this way.
Variations and Substitutions
Feeling creative? It’s super fun to mix things up! Here are a few ideas you can try with this delicious recipe.
- Try Different Chips: Not a fan of white chocolate? Use dark chocolate or even peanut butter chips.
- Add Some Crunch: Throw in a handful of chopped walnuts or pecans. So good!
- Cream Cheese Swirl: For an extra treat, swirl some sweetened cream cheese on top before you bake them.
- Coffee Lover? A little bit of instant coffee powder will make the chocolate taste even richer.
- No Buttermilk? No Problem! Just add a tiny bit of lemon juice to regular milk and wait a few minutes.
Make-Ahead and Storage Tips
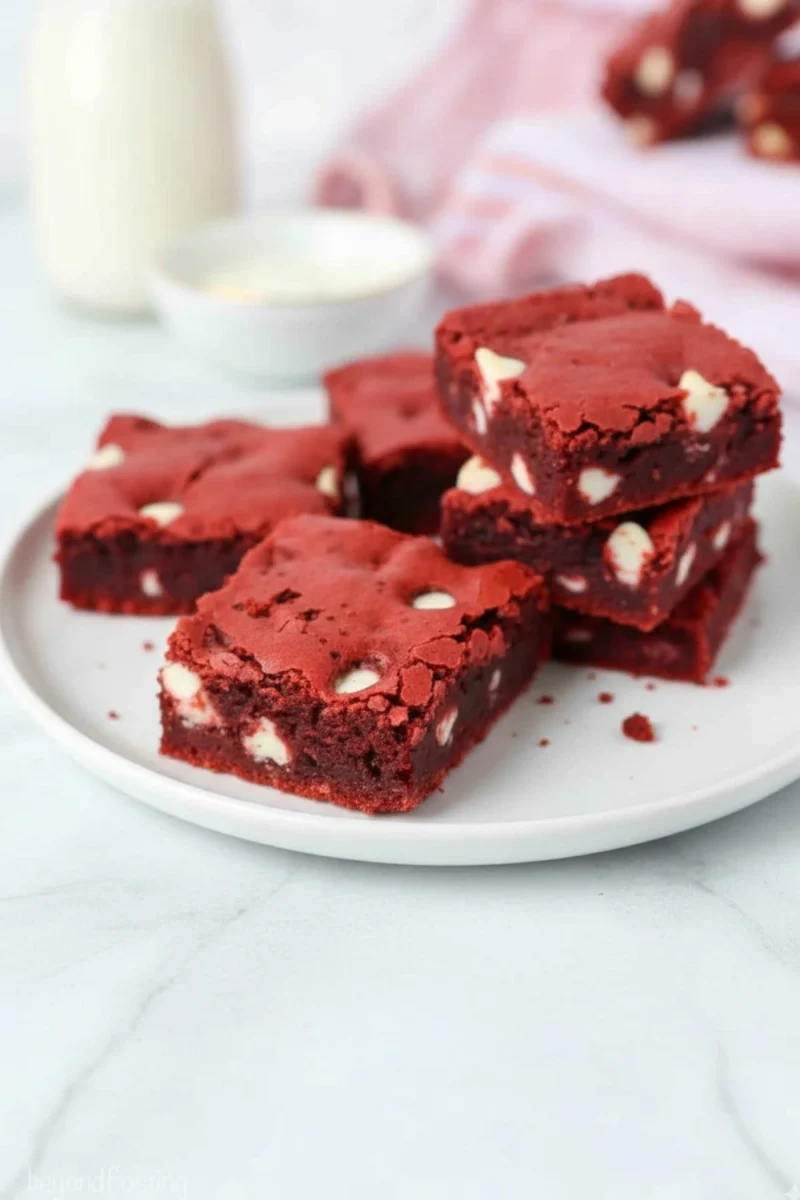
These brownies are great to make ahead of time! Once they are all cool, you can keep them in a sealed container on the counter for about 3 days. If you want them to last longer, pop them in the fridge for up to a week. You can even freeze them!
Just wrap the whole block of brownies really well in plastic wrap and foil. They’ll be good in the freezer for about 3 months. When you’re ready to eat them, just let them thaw on the counter.
Recipe FAQs
Why use oil instead of butter?
Oil makes your brownies super moist and fudgy. Butter can sometimes make them taste more like a cake.
Can I use regular food coloring instead of gel?
You can, but you’ll need a lot more of it. I really think gel works best for a bright red color.
How do I know when the brownies are done?
Stick a toothpick in the middle. If it comes out with moist crumbs on it, they’re ready to go!
Can I double this recipe?
You sure can! Just use a 9×13-inch pan and bake them for about 5 to 10 more minutes.
Why didn’t my brownies turn out bright red?
You might just need a little more food coloring, or maybe you used a liquid kind instead of a gel.
Can I add a frosting?
Yes! Cream cheese frosting is amazing on these. Just make sure you wait for them to cool down first.
My brownies are cakey, what happened?
You probably mixed the batter a little too much. Try to be gentle after you add the flour!
Red Velvet Brownies
Ingredients
- 1 cup granulated sugar
- 1/2 cup vegetable oil
- 1/4 cup buttermilk
- 1 large egg room temperature
- 1 teaspoon pure vanilla extract
- 1 teaspoon distilled white vinegar
- 1-2 teaspoons red gel food coloring
- 1 cup all-purpose flour
- 2 tablespoons natural unsweetened cocoa powder
- 1/2 teaspoon baking soda
- 1/2 teaspoon baking powder
- 1/4 teaspoon salt
- 1 cup white chocolate chips divided
Instructions
- Get Ready to Bake: First, turn your oven on to 350°F (175°C). Get your 8×8-inch pan ready by greasing it and lining it with parchment paper.
- Mix the Wet Ingredients: In a big bowl, whisk together the granulated sugar, vegetable oil, and buttermilk. Then stir in egg, vanilla, vinegar, and the red gel color.
- Stir in the Dry Ingredients: Now, add the flour, cocoa powder, 1/2 teaspoon of baking soda, baking powder, and salt. Gently mix until you can't see any dry spots.
- Add the Chocolate: Carefully fold in 3/4 cup of the white chocolate chips. Remember, don't mix it too much!
- Bake Your Brownies: Pour the batter into your pan and spread it out. Sprinkle the last 1/4 cup of white chocolate chips over the top and bake for 25-30 minutes.
- Cool and Slice: Let the brownies cool down all the way in the pan. Then, lift them out, slice them into 9 squares, and ENJOY!
Notes
- For that super bright, WOW red color, you’ve got to use a gel food coloring! My favorite is the Chefmaster Red Red brand—it works perfectly every time!
- Using a room-temperature egg and buttermilk really helps the batter come together smoothly.
- Don’t bake them for too long! You want them to be a little gooey for that perfect fudgy bite.
- Waiting for them to cool completely before cutting is the secret to getting nice, clean squares.
- Using parchment paper makes it so easy to lift the brownies right out of the pan.

